Sunday, June 2, 2019

Report No.14

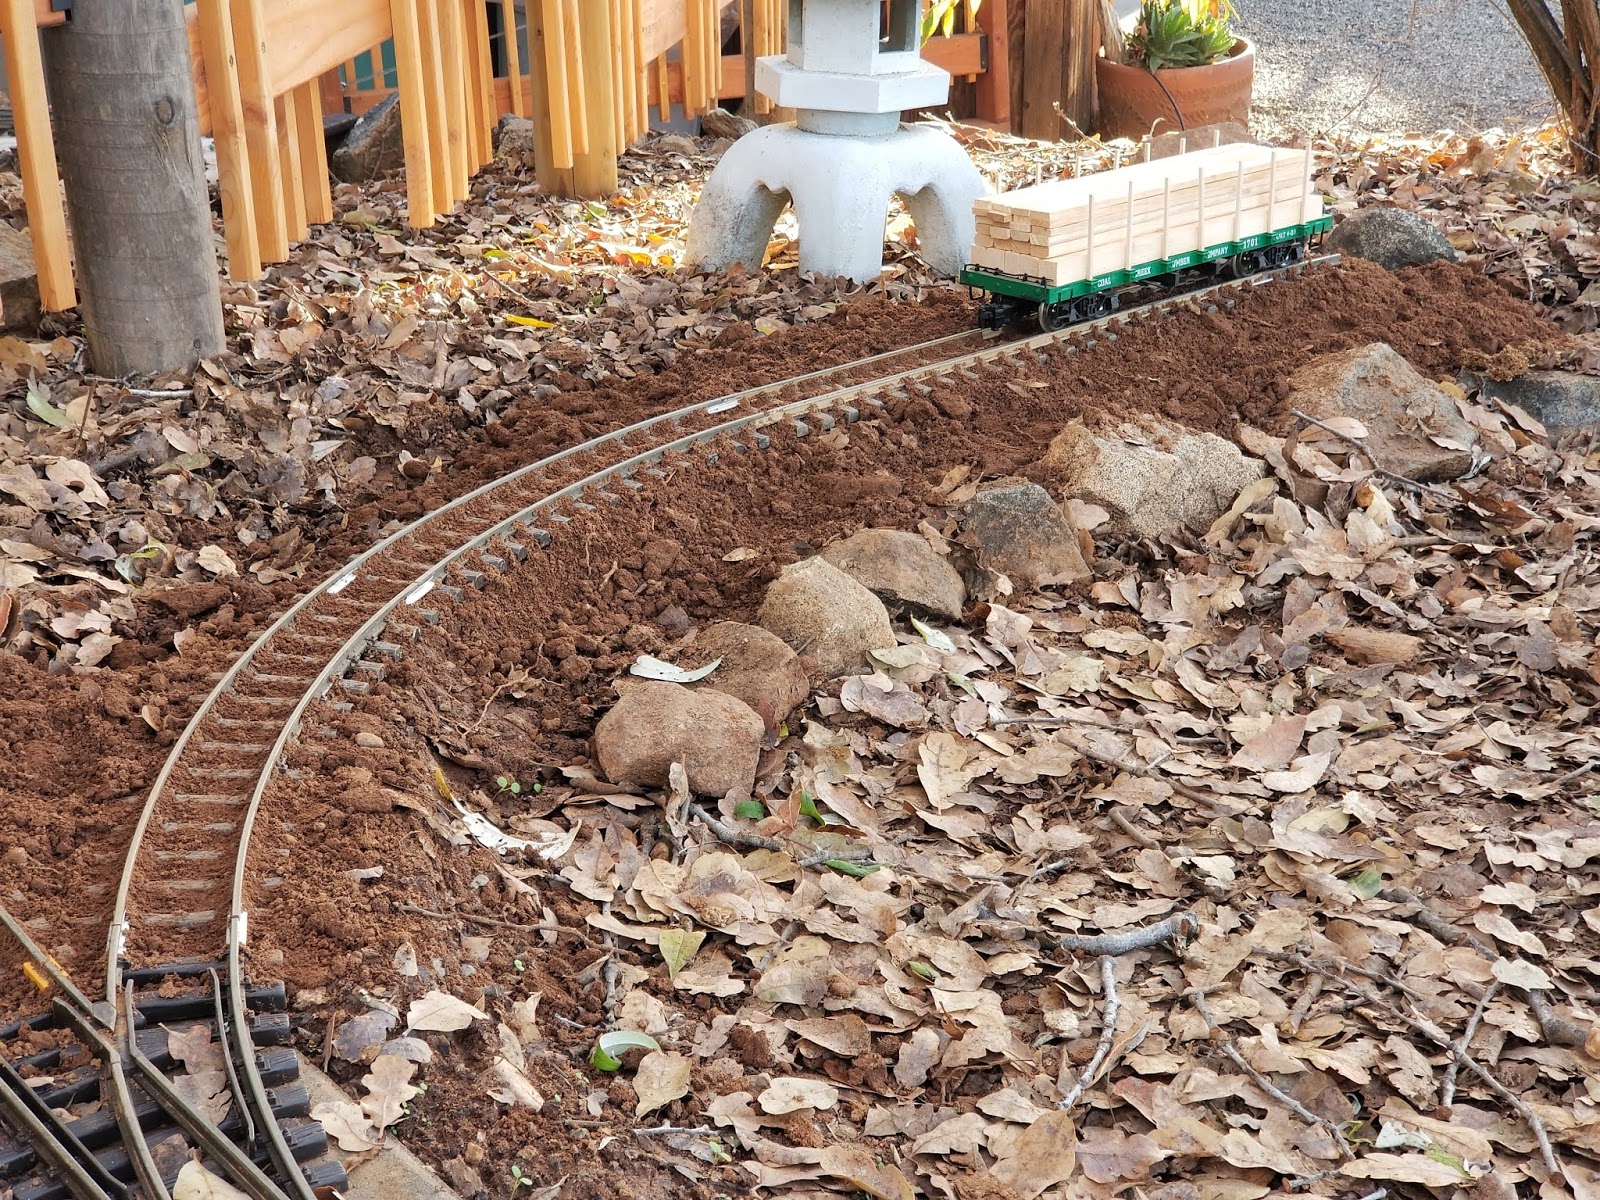
Worked from Zach Jct. towards Tuttletown. Added in Patterson Mine spur.
Since Tuttletown will be a loop, Patterson Mine will be passed twice each day.


Zach Jct towards Patterson Mine.


Patterson Mine spur on right.

Also started on Mormon Creek trestle between Zach Jct and Patterson Mine.


Saturday, April 27, 2019

Report No.13

Made a little progress to Zach Junction towards Tuttletown.


Leaving Marble Spur going towards Zach Jct.

Zach Jct.

Installed a rock wall behind the Jamestown Yard and am working on one below Zach Junction to where Patterson Mine will be.


New rock wall and temporary birdhouse watertank.

Also added the car stop bunker in the Jamestown Yard.


Monday, April 1, 2019

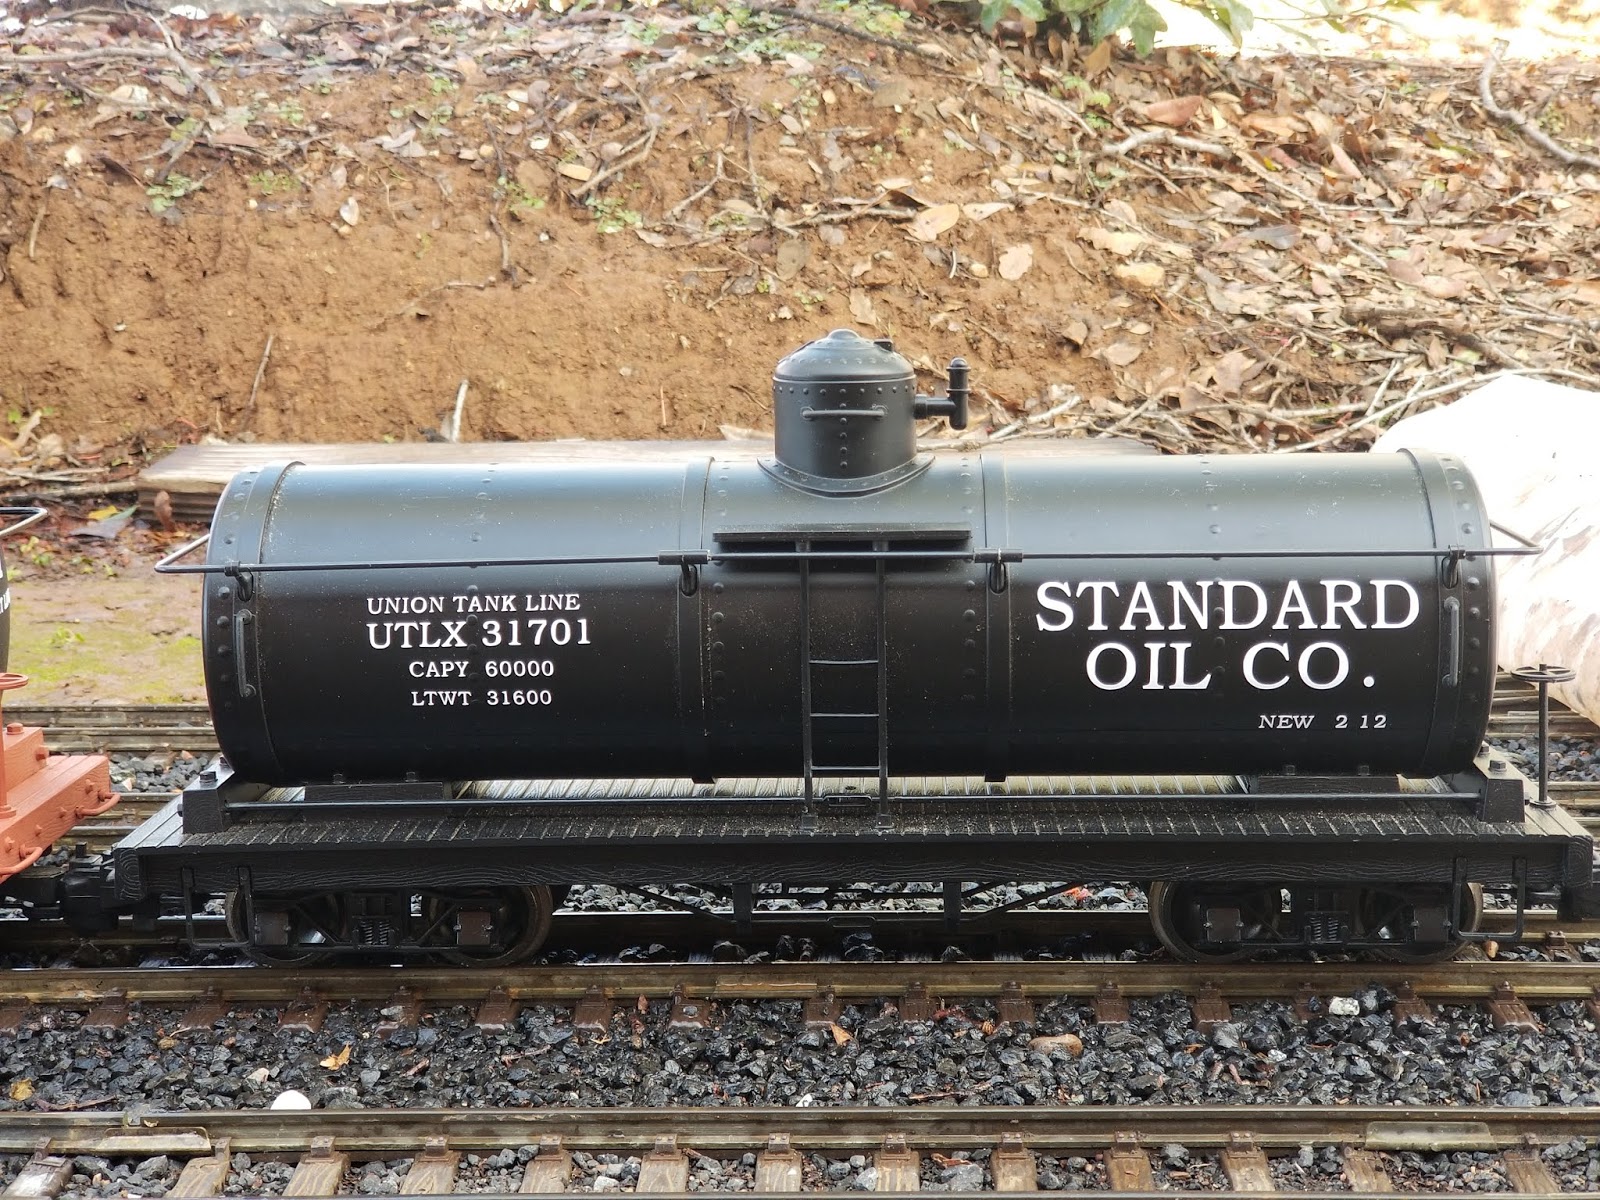
Equipment Vinyl Lettering

I bought a Brother Scan N Cut 2 Model CM350, (SnC) in early January for making vinyl lettering.
After getting used to the menu usage and small screen, it works great now. There are a lot of youtube videos to help get you started. Most are for cutting fabric, though work using the same menus.
The lettering style I have been using from the SnC look very much like Railroad Roman.
There is an updated work program for your PC called Brother CanvasWorkspace. You connect the SnC to your PC via USB A to B cable and transfer files back and forth. The SnC does also have an extra USB port for a thumb drive that I use for storing files since the memory of the SnC can only hold about 50 files.
Like the SnC, the Workspace menu takes some getting used to and is limited also on project manipulation.
I have been using it for all files now.
For better flexibility there is program called Inkscape that you can make anything. Good videos on how to learn to use it is here, ttps://www.youtube.com/playlist?list=PLydh2cGCHIMbQWegaGMLsFXYGQSx1SPTm
I have not used it yet.
You can take almost any graphic file and use an online converter to change it to an SGV file, then import it to the Workspace for modifying it, then it changes it to the SnC file type, fcm, when exported to your PC or SnC.
The best thing the SnC has other cutters don't have is a scanner. You can scan an picture or drawing and change its size and shape for cutting out. The most useful use of the scanner is to scan the work mat to reuse previously cut vinyl sheets and move your project to an unused scrap on it. Less wasted material.
So far I have cut letters down to 1/8 inch with out  any problems. Though it is harder to weed out the material around the letters the smaller they get.
I have been using it for two months an see no blade dulling yet. But bought an extra on Amazon for $9.00 Model: CABLDP1
One tip I found, is to use painters tape to hold two sides of your vinyl sheet to the sticky mat better.
You can get 12x12 inch vinyl sheets in a lot of colors at Michaels or Hobby Lobby for about $2.00 each. Or 4 foot rolls at most all craft stores for about $8.00.
Michaels has matt,(dull coat), white and black sheets. Look better than glossy.
Here is what I have used it for.


Also relettered all the locomotives.


Tuesday, February 5, 2019

Snow Extra 2-5-19, 2-5-49*

The crew got a call to take fuel oil for Omega Mine to Omega Siding. Well, it snowed. 7 feet worth of "Sierra Cement", wet and heavy, (scale 4 inches).

Lot of work at Woods Creek.

Approaching Table Mt. Cut.

No where for the snow to go.

And don't have a snow blower. They will try again tomorrow.
*IRL, 70 years ago today Al Rose and Guy Dunscomb chased Sierra No.18 with freight to Tuolumne in the snow. Also the Sierra freight today had 4 trees downed by snow, blocking their way to Fassler. They made it with some chainsaw help.


Monday, January 28, 2019

Report No.12

Here is an update on a few things happening on the Angels Branch.
Passenger and mixed trains run one or two times a week.
If the program chooses two freight cars both ways, I will use combine 5 and coach 6.
If its three cars, I will only use No.5 due to Omega Sidings length.


No.10 with train 21 west passes JT Industrial Spur with two tanks, a flat and combine 5.
The Naked Ladies are very healthy now. Taken 1-13-19. A couple of weeks ago , I had to pull up this section to relocate a few that where dead center underneath the tracks. Same with a few under the east end of the Gravel Spur switch and near Peppermint creek .


Here is the first car from the Marble Spur with Columbia marble in the Jamestown yard 1-19-19.
This is real marble from an abandoned marble quarry in the Columbia area.


Jamestown yard is mostly ballasted. I am not gluing it down. I keep it covered to keep the rain of leaves and twigs off it.
I am working on the freight depot now. The platform is 7.5 feet long.
I will have a post on its construction when done.
Also working on the turntable plywood platform.


JT yard 1912

Thursday, December 27, 2018

Making a shed for Omega Siding

The shed I wanted to build is the one actually at Tuttletown.
Per the 1916 valuation for the railway, the shed is 12x12 feet on a 12x24 platform.
I had a sheet of Dollar Tree foam board to use. I cut the pieces and then stripped the paper off so it would be water proof. With out the paper its about 5mm thick. Then I hot glued it together.
Cut the battens from the edge of the foam board. Glued them on with outdoor Gorilla Glue.

Bare foam.

Painted with acrylics. Hot glued redwood posts and angle supports.

Bare roof.

I saw some videos online how to make corrugated metal with different paper crimper manufactures. They all work the same.
I ran down to the crafty stores and found none in stock anymore. So I Googled it and found the Friskars one through Walmart and added it to my Christmas list.
Thank you Santa!

The package.

The tool.

Stick a business card in and turn the side orange handle while squeezing the back handle.
I usually twist the side handle a little forward then back, then forward/back repeatedly to get better corrugations.
Especially on the end before spitting it out.
You could use aluminum from soda cans as well.

This is what you get. Paint the business cards before or after.

You could use longer card stock to get more scale lengths.
I may redo the roof later with thinner card stock and full lengths.


The Captain thinks its ok.


What do you think?


Thursday, December 20, 2018

Report No.11


A little update on progress.
I have been running two Mixed trains every weekend per program when I find a spare 30-45 min for each.
A special order for the Omega Mine mill was shipped as an Extra also.
I wanted to start small with buildings, so I built the Tuttletown freight shed to put at Omega Siding till I get to Tuttletown. Per the 1916 valuations its a 12x12 ft. shed on a 12x 24 ft. platform. I'll do a post on making it later.
This week I put in the Peppermint Creek bridge because I was worried that fill might work as a dam. Map shows 3 spans, but I only wanted one now.
After that I finished the Marble spur and put the track in for the Storehouse and Oil Spur. I tested it per program with engines No.1, 8 and 10. No problems pushing two cars up the hill.

First car to new shed at Omega Siding.


Special order of replacement parts for the Omega Mine mill.
First ten Terok Nor model ST-DS9 self sealing extruder buckets arrive Omega Siding December 12.


New Peppermint Creek bridge.

Marble Spur track installed in final configuration.

Storehouse and Oil Spur track layed and tested today.


Wednesday, November 28, 2018

Locomotive Roster


My plan is for No.1 to be yard switcher till I get/ kitbash an 0-6-0 that Sierra had used. No.8 and No.10 will run the freights. No.15 will run the Mixed.
My four engines are converted to radio control. This works great. No interference or glitching ever. I have absolute incremental throttle control.
I fly electric R/C aircraft so I am using my old Hitec Optic 6 transmitter with a Spectrum 2.4 GHz module and Hobby King Orange receivers.
All have an on/off switch below tender deck on Engineers side.
Speed controllers are one direction, so I made servos push/pull a DPDT switch for reversing. The right control stick works like a Johnson Bar, push forward/up to change to forward and pull back/down for reverse.
Left stick is throttle. I have it reverse of real engines due to aircraft is push/up on, pull/down is off. I don't want to confuse myself between the two. Aircraft take priority.
Batteries are my older LiPos that won't provide the amp draw for aircraft, but will run an engine.
I have been using this type for 15 years and know to be cautious with them as when abused they can self ignite. I have not had this happen to me, but have seen it happen to others when damaged or charged incorrectly. Always read the safety instructions on all batteries and chargers.
Batteries are in engines or their tenders and are easy to replace if they get low during operating. They are ALWAYS removed for safe charging in an fire proof container.

The engines are lettered with vinyl from a local sign shop that made them as small as his machine would cut, 1/4 inch. If you tell them you will do the picking,(removing excess around the letters), and transfer to low tack tape yourself, they get friendly again. Thats the hard the work. They usually have tons of scrap to cut on. Cut a few extras because you will mess some up till you get the hang of it.

Most of the info to keep things running I learned from George's Technical Tips Page
A wealth of tips and tricks for G scale engines.

I am still looking for a bargain Bachmann Heisler to be No.9
Update 5-18-20. Aquired a used Bachmann Heisler, 2trk Shay and a 3trk Shay.
I am reshopping them, see below.


Engine No.1
Pretty much stock Bachmann Porter sidetank 0-4-0, Coal Creek Lumber.
Started out blue before repaint.
Replaced bell rope and added whistle rod.
Added sand dome lid handles.
Reworked cab roof vent so it will open and close.
Removed track pickups.
Cut backhead off so a 2 cell 610mah or a 3 cell 370mah battery can slip in/out. The backhead is held in place by a magnet.
R/C receiver in left tank and speed control in other. Reversing servo/switch on fireman's side wall.
No sound yet.
Runs well and surprisingly will pull the two hoppers out of the steep grade of the gravel spur.
Don't know run time, but it used half the battery to switch the yard and run a work train to Omega Siding, do some switching and run back to JT.


Engine No.8
Bachmann Class B Climax, older version, undecorated.
Yes, Sierra didn't have a No.8 or a Climax. But a Climax was ordered and used on the Sugar Pine Ry. and other engines may have been ordered as demos, and may have used the unused numbers while on site. Works for me.
Replaced bell rope and added whistle rod.
Added a rebuilt 4-6-0 generator and moved the air pump exhaust.
Removed coal and made oil tank to hold 3 cell 1300mah battery.
Added sand bunker in cab for the Fireman's daughter to sit on. She likes the Engineer. Held in place with a magnet.
Scratch built a "cow-catcher" to front pilot beam. All Sierra road engines have them.
Installed rear footboard that was missing, from a 4-6-0 tender.
Moved reverse lamp from roof to back of water tank.
Replace head/reverse lamp LEDs with SMD LEDs. Just brighter, better color.
Hardwired truck to chassis wires with silicon wires. Heard connection can be bad.
Removed roller ball pickups.
Disconnected all other lights.
Added older version 4-6-0 chuff board and smaller speaker. Now has MY Loco Sound.
Un-quartered cross connecting shaft so chuff switches in pistons now go chuff equally,(although half the real engine), not chuff chuff nothing nothing chuff...
Made and added ladder to Fireman's side of water tank.
Made hinged stack cover.
Made front flag holders and white flags.
Added rod for roof vent.
Filed bolsters on front frame to let front truck tilt side to side better for uneven track. Left rear alone.
Runs great. Have run for 45 min and used half of battery. Works well on uneven track.


Engine No.9
Bachmann 2 trruck Heisler.
Aquired 5-18-20 from Dave Connery's now retired South West Side Lumber Co.
Thank you Dave.
As of 5-25-20.
Already has PCM R/C with Sierra Sound installed and working.
Fixed front truck to frame connection.
Pulled side air tanks, rear ladder, rear sandbox, roof light, front foot board.
Added Bachmann couplers.
Removed roof reverse lamp.
Made oil tank and hatch, moved water hatch.
Added a "cow-catcher" to front pilot beam. All Sierra road engines have them.
Repainted cab and tender.
Relettered.
Replaced crew.
Made a new stack and cover.
Runs and sounds great.


Engine No.10
Bachnann Class B Shay, older version, Ely-Thomas lumber Co.
Replaced bell rope and added whistle rod.
Removed coal and made oil tank.
Removed diamond stack and used a 4-6-0 stack with an extension. Will make a hinged stack cover.
Added "cow-catcher" to front pilot beam. Also from a 4-6-0. All Sierra road engines have them.
Installed rear footboard that was missing, from a 4-6-0 tender.
Painted cab sides and tank flat black to cover lettering.
Removed reverse lamp from back of water tank. No. 10 did not have one.
Replace head lamp LED with SMD LED. Just brighter, better color.
Added older version 4-6-0 chuff board and smaller speaker. Fixed short circuit behind cylinders.
If your wheels wobble you need to REPLACED ALL CRUMBLING WASHERS BETWEEN WHEELS AND BEARINGS with 3/8 steel washers, drilled out to fit on axle and No.10 nylon washers for insulating wheel from axle. MY ENGINE DID. Bachman doesn't have the kit anymore.
SO FAR I REPLACED ONE AXLE DRIVE GEAR THAT CRACKED. Got a replacement from Northwest Short Line . The gear is a Spur Gear, 32DP x 22 Teeth x 18.9mm OD x 0.173" Face x 6mm Bore, Delrin Compatible with:  Fn3 Bachmann 36T Shay axle gear. Part Number:  2225-6.  As soon as I replaced it another cracked. Ended up replacing all four.
Removed roller ball pickups.
Disconnected all other lights.
Made front flag holders and white flags.
Added rod for roof vent.
Replace long air tank with scratch built shorter one.
Removed rear ladder.
Runs great also. Likes uneven track.


Engine No.15
Bachmann 4-6-0 Chattanooga Rail Road Set.
Replaced bell rope and added whistle rod.
Removed coal and made oil tank.
Made a hinged stack cover.
Moved reverse lamp from center of tender to back left edge.
Replace head/reverse lamp LEDs with SMD LEDs. Just brighter, better color.
Made new guide for pony truck,(front 4 wheels), per George's Technical Tips Page.
Replaced chassis and running gear with Bachmann 4-6-0 Anniversary chassis.
Added extra chuff bars to axle contacts for four chuffs per revolution.
Removed track pickups.
Disconnected all other lights.
Made roof vent operable and added rod.
Removed brass painted boiler bands.
Painted cab and tender black.
Runs ok. Doesn't like uneven track.